This blog is meant to be a photo and text record of a boat restoration project I am undertaking. The boat is a fiberglass Vivacity sailboat, 20 feet long, that I have renamed Evelyn. The interior and exterior need to be completely rebuilt. Most of the inside cabin will be wood work, redoing all the shelving and making some changes to the original layout.
The exterior requires all new companionway doors and lazerette hatches. A new rubrail and hand rails, and other woodworking projects.
The rig will be dealt with after the boat is in the water and I have had a chance to sail her. Then I can decide how I want things set up for secure single handled sailing and managing as much as possible from the cockpit.
You will see that this is a project that will take hundreds of hours before she’s in the water again. Its all a matter of finding time to do the work. I’m not a boat builder by any means, but I have been messing about with them over the years so have basic skills.
Here are some photos of Evelyn…..


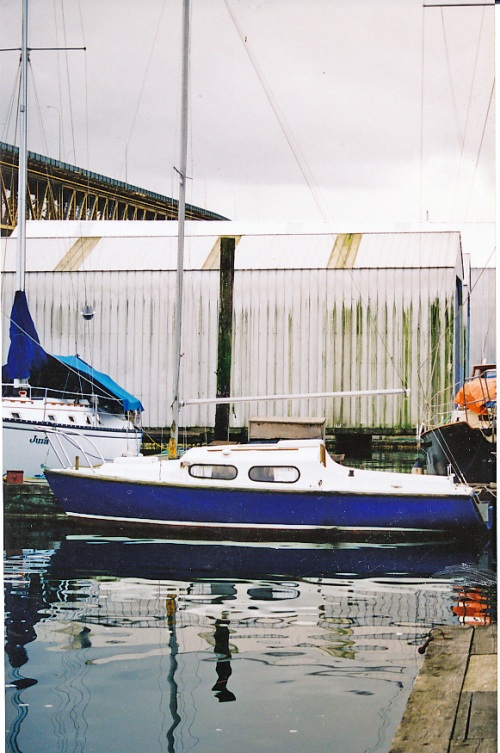 ….A British designed, twin keeler designed to sit upright on mudflats at low tide. Built in Barcelona, Spain, probably in the late 60’s, or early 70’s I’d like to believe she was sailed across the Atlantic, but there are no records of her history.
I had all ready removed the dryrotted wood rubrail along the hull/deck joint. Replacing that will be next years project.
Last summer I took off all the fittings, winches, running lights, hardware etc., and filled all the holes with epoxy resin….
 ….
….
Windows removed as well. I have new 4 mm acrylic to replace them. I won’t be hanging the outboard off the transom anymore. I’m building a well for it in the cockpit. I’m not fond of outboards hanging of the stern in following seas, as well as being a pain leaning over the aft deck to raise and lower into the water. Besides that, it ruins the lines of an otherwise fairly good looking boat, and leaves the outboard an easy target for theft.
Before painting I completely sanded the topsides of the hull and cleaned it thoroughly with mineral spirits.
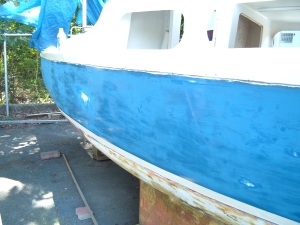
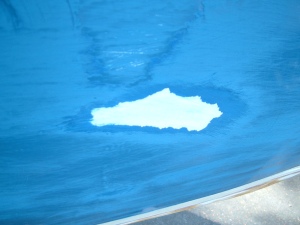 …… If I continued scraping and sanding I’d be down to gelcoat. That may be necessary for a professional spray job, but this isn’t that kind of boat. I’m not after a bristol yacht finish, this is a DIY project and I just want her to look nice and clean.
I used the roll and tip method of painting which is well demonstrated in a video done by boat builder central at this link ………
I did have a problem with a cheap roller leaving bits of fluff in the paint job, that had to be removed with fine tweezers. I’ll pay a little more for quality next time. Next came the cabin and decks which I scraped and sanded where possible except for nonskid areas. I had to really watch the weather for that job. Any wind would shower the deck with pine needles and kill the paint job. I got very lucky and it turned out pretty good. The next day the deck was covered in needles, after the paint had dried. I’m using “Tremclad” rust paint, as recommended by several people in the trailor sailing community. It drys hard in about three hours in warm temperatures. I gave it three days before sanding for another coat. I have two coats on the topsides and one on the cabin/deck for this year. Painting season is over now till next year…..
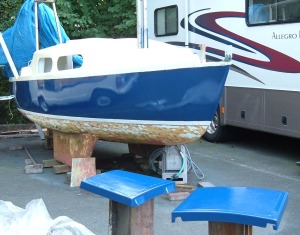
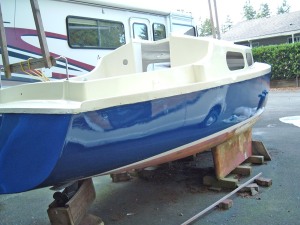 1st coat was too light (Royal Blue), next coat I went darker (Dark Blue). I was going to use white for the deck until my wife advised an off white cream. It makes sense, less glare in bright sun.
The bottom is another big project, because all traces of bottom paint have to be removed. I’m not looking forward to lying on my back holding a sander above me for several hours. Sometimes it’s easier working on larger boats, at least you have room to move.
I got a lot done down below this summer as well. It had an inner liner of foam backed vinyl contact cemented to the sides of the hull. This worked pretty well for years for the former owners, but it was time to get rid of it. underneath was a lot of mildew so I scraped and sanded as best I could to remove the old contact cement before painting.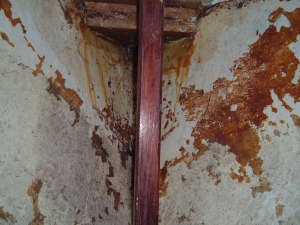
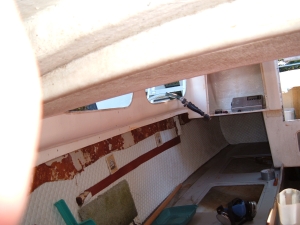
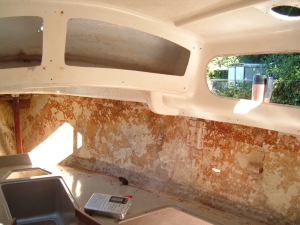
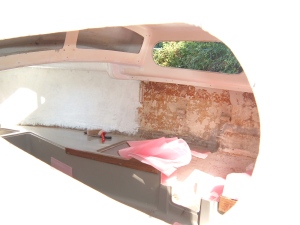 A few coats of white paint will really clean it up. I was kindly given some good quality, closed cell foam to replace the old liner with from a sailor friend.
I found that a plywood seat had rotted out where I was going to cut that section out anyway to put a wood burning heater when I found something suitable for the space. I cut the piece out and three or four days later the perfect Dickinson Newport fireplace came up on craigslist. It’s in great condition and fits perfect in that location.
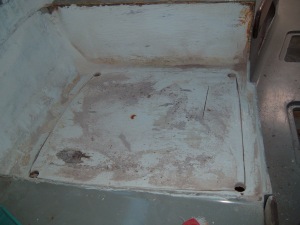
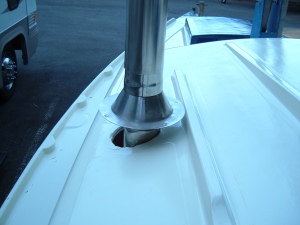
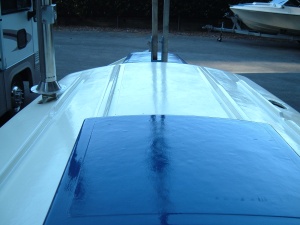
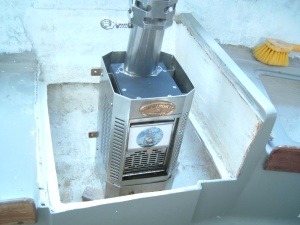 ……All surfaces near the heater have to be fireproofed with tile or sheet metal over fireproof material of course. It fits right under the boatbuilders vent hole with a straight run for the stovepipe.
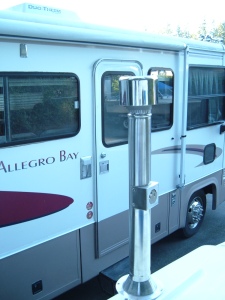
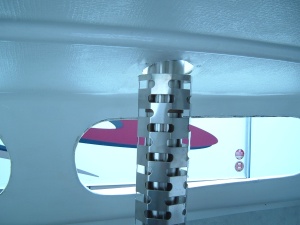 Outside needs a leveling spacer, but the long extension will be brought out and fitted whenever the stove is used. It can’t be used when sailing anyway.
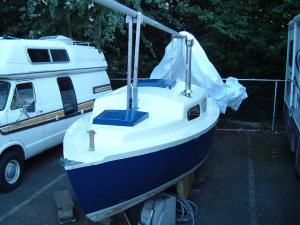 .I should mention the conditions I’m working in for the project. Evelyn is stored in an RV parking compound where we live.I have no electricity, I’m using all battery powered tools (including a cordless dremel, very handy), two batteries so I can charge one while using the other. These 18V Ryobi batteries don’t last long, maybe half hour or less on a charge, depending on which tool you use (3 minutes with Dustbuster type vacuum!!!). last Obviously I can’t do any spraying, check out the rig next to me…and I am in tight quarters, but I live right across the street, and have all the power tools I need to work there, band saw, sanders, drill press, and well equipped jewellery making workshop for the little stuff.
Well, the weather is changing next week, our summer’s over and I tarped the boat up for the rainy weather. I’ll do what I can over the winter with inside projects. I’ll add more posts here when I get further projects done.
